Phlebotomy school
LEVEL 3 OFQUAL REGULATED
Level 3 Ofqual Regulated Phlebotomy School £2500 (£2083 plus VAT)
Learn to draw blood safely, confidently & competently with gold standard training as standard.
BOOK A FREE CALL TO DISCUSS PHLEBOTOMY SCHOOL OPTIONS
Choosing the right phlebotomy training is an important investment in building your future career. While our training courses may appear to be more expensive than others, they have been carefully designed to give you the depth of knowledge, practical experience, and the professional edge that many cheaper courses simply cannot provide.
Kate Knowler will take you beyond the basics of taking blood to ensure you leave not only competent, but also confident, in your ability to draw blood from veins.
Whether you want to work for yourself, by yourself, or you want to work in a team for an employer such as the NHS, our course will build strong foundations for you so that your first day in clinic as a qualified phlebotomist isn’t one filled with questions and nerves (because nothing is worse than a nervous phlebotomist!)
The Blood Labs Phlebotomy School Training programme is designed for:
- Nutritional therapists expanding their clinical skillset
- Aspiring phlebotomists who want to work for themselves or for an employer e.g. NHS – I’m more than happy to provide a 6 week reference for you
- Anyone who wants to work safely with blood draws
No previous clinical experience is necessary. We will teach you everything you need to get started, from the fundamentals onwards.
From phlebotomy zero to phlebotomy hero in 6 weeks.
At the end of this course, I will help you to get your own CQC registration* but you will also be eligible to register for a Bloods and Beyond Approved Membership, and get working from day one of your qualification.
I completed phlebotomy training with Kate Knowler and received outstanding support throughout. The training was delivered to a 5-star standard, exceeding expectations and far surpassing other courses I have looked into. Kate provides ongoing support even after the training, which has been invaluable. Her professionalism, knowledge, and commitment to high-quality teaching truly set her apart. I would highly recommend her training to anyone looking for a superior learning experience.
Lesson Plan Breakdown for Weeks 1-6:
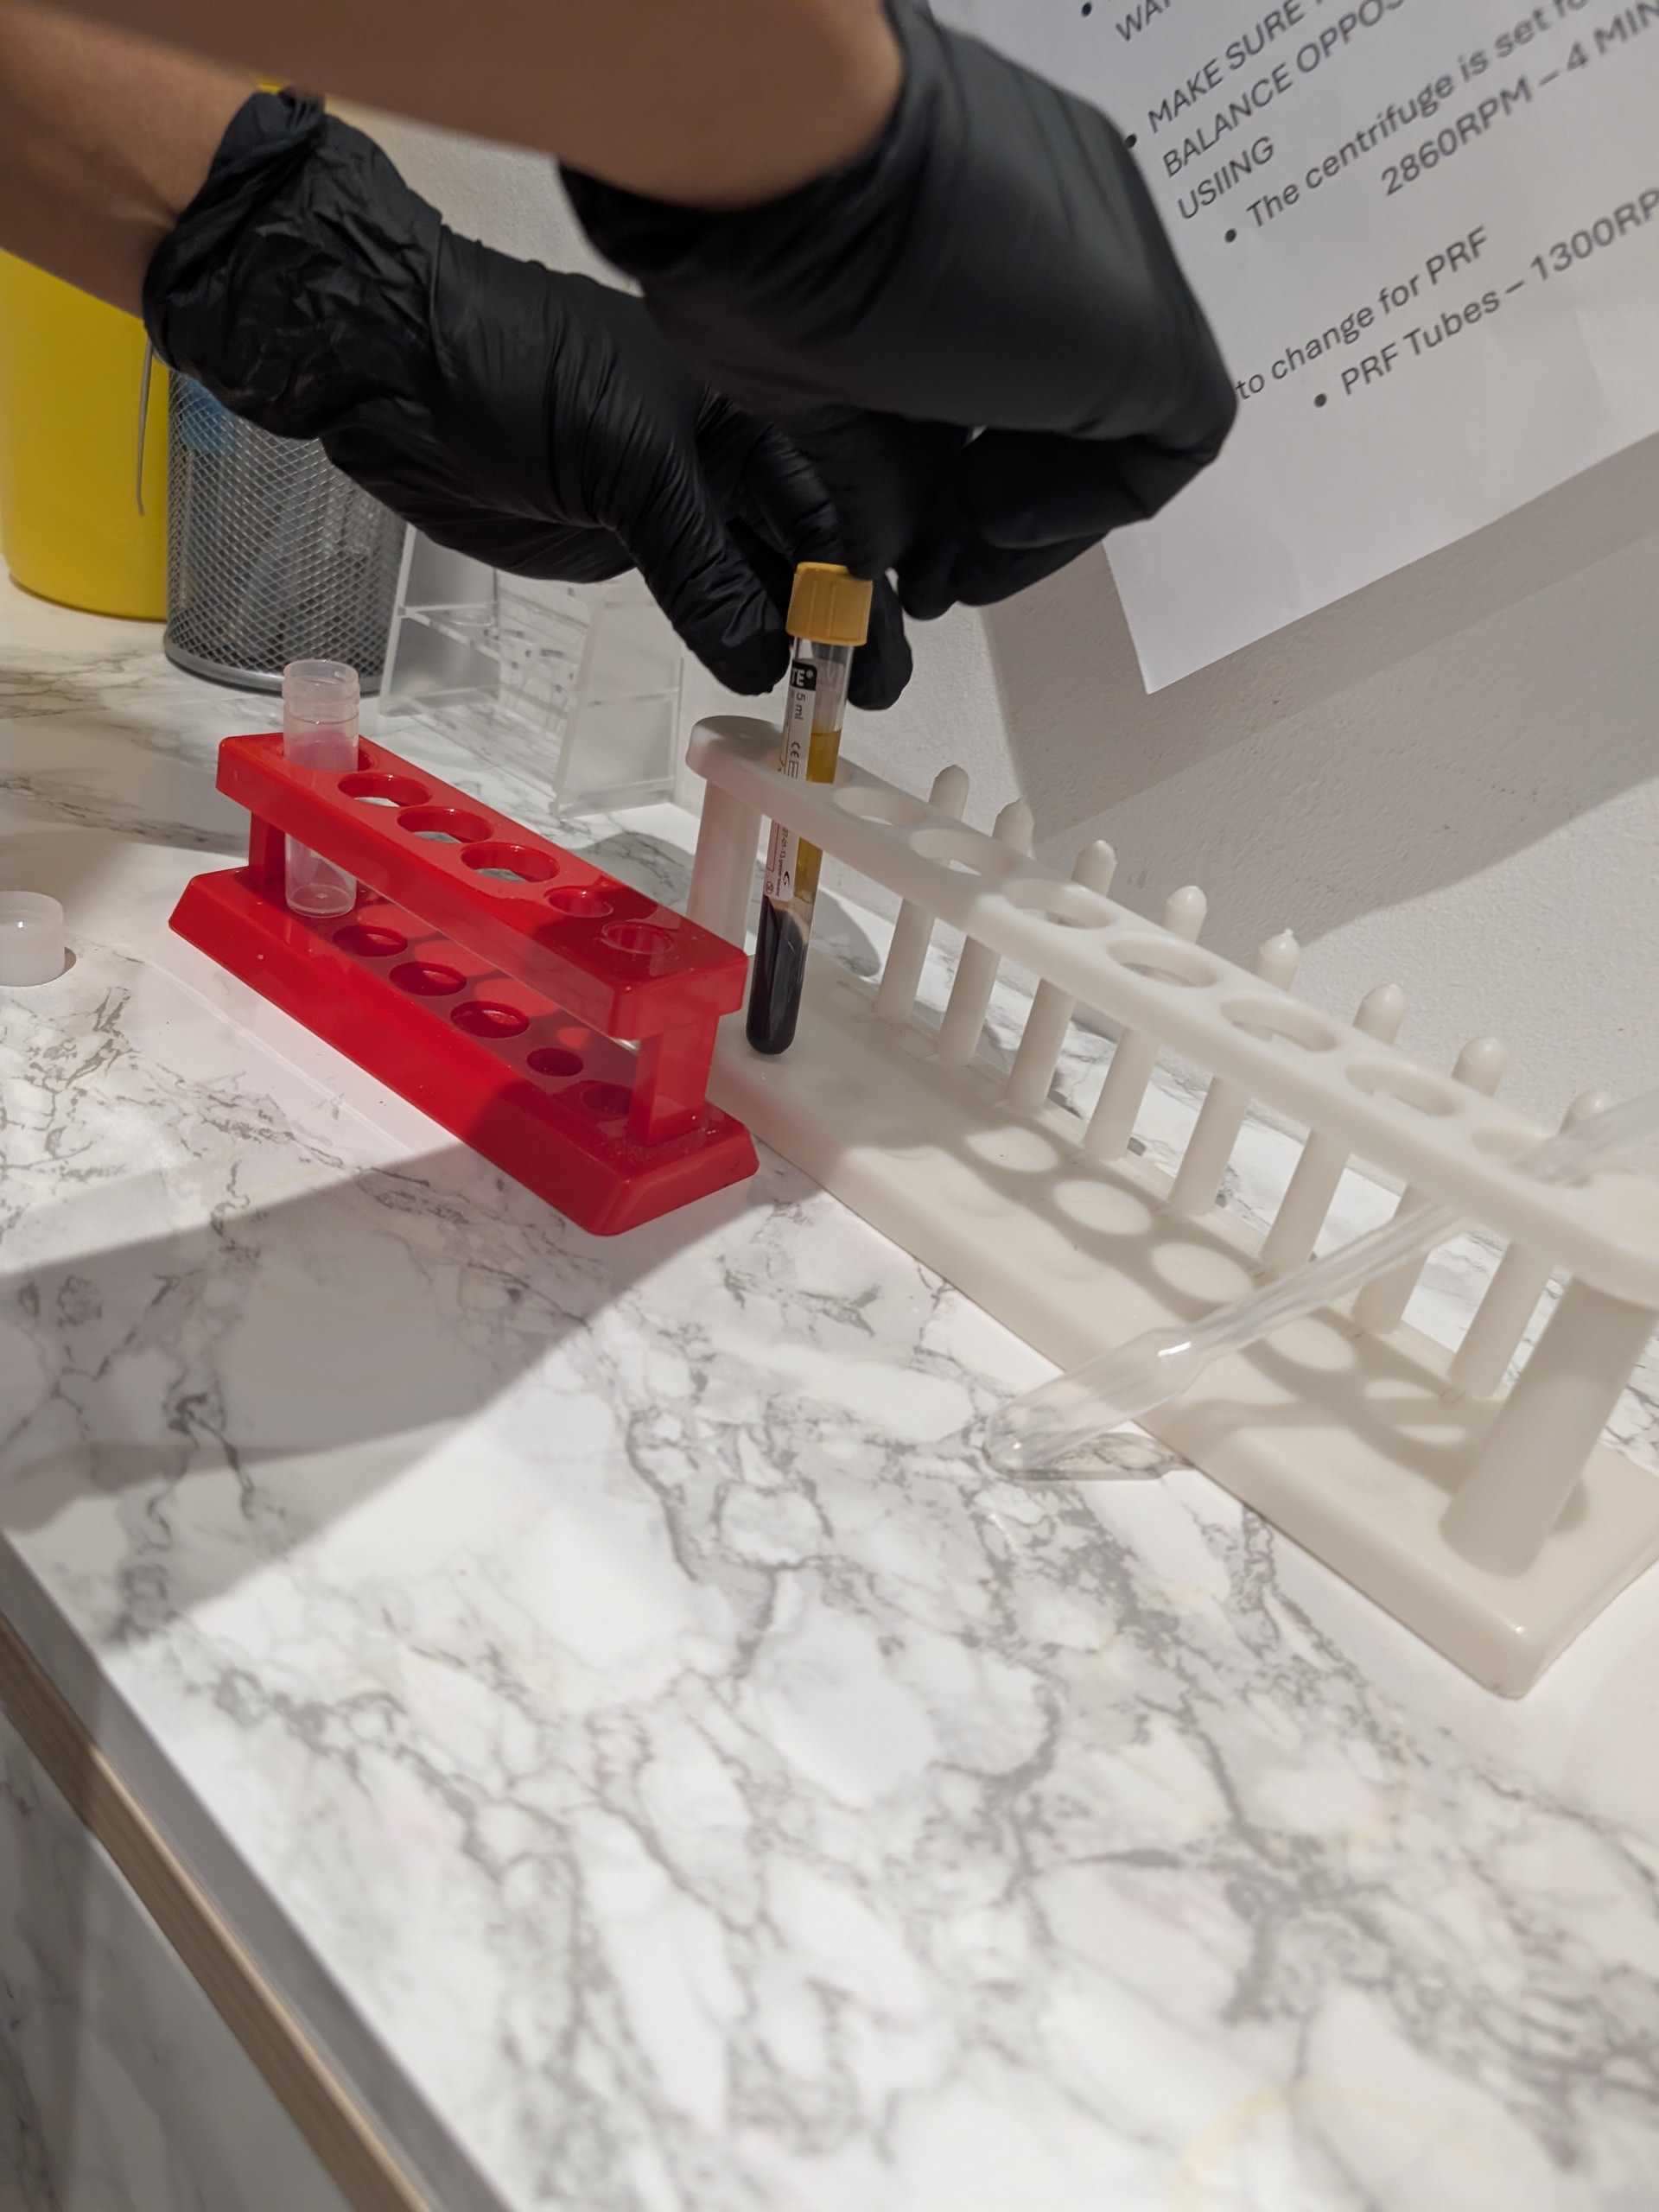
NOTE: your phlebotomy training will be taking place in a working phlebotomy clinic, so your theory and practical training will take place around any shadowing of live clients in the clinic (this is a great time to learn centrifugation and the basics of lab paperwork).
The timings given here are estimated – you may do more theory in the afternoons if the clinic you are shadowing is particularly busy with clients in the morning.
Week 1: Induction, and Fundamentals of Phlebotomy
Welcome to week one of your new career.
We start your first lesson with an introduction to the course, and explaining the team behind your teaching and learning assessments. We’ll cover the assessment deadlines and make sure you feel confident with what you need to do, and when.
Then we’ll cover all of the terminology and legal legislation that will be used throughout your assessments and into your new career as a phlebotomist. You’ll never be able to call a vein just “a vein” again, after this lesson!
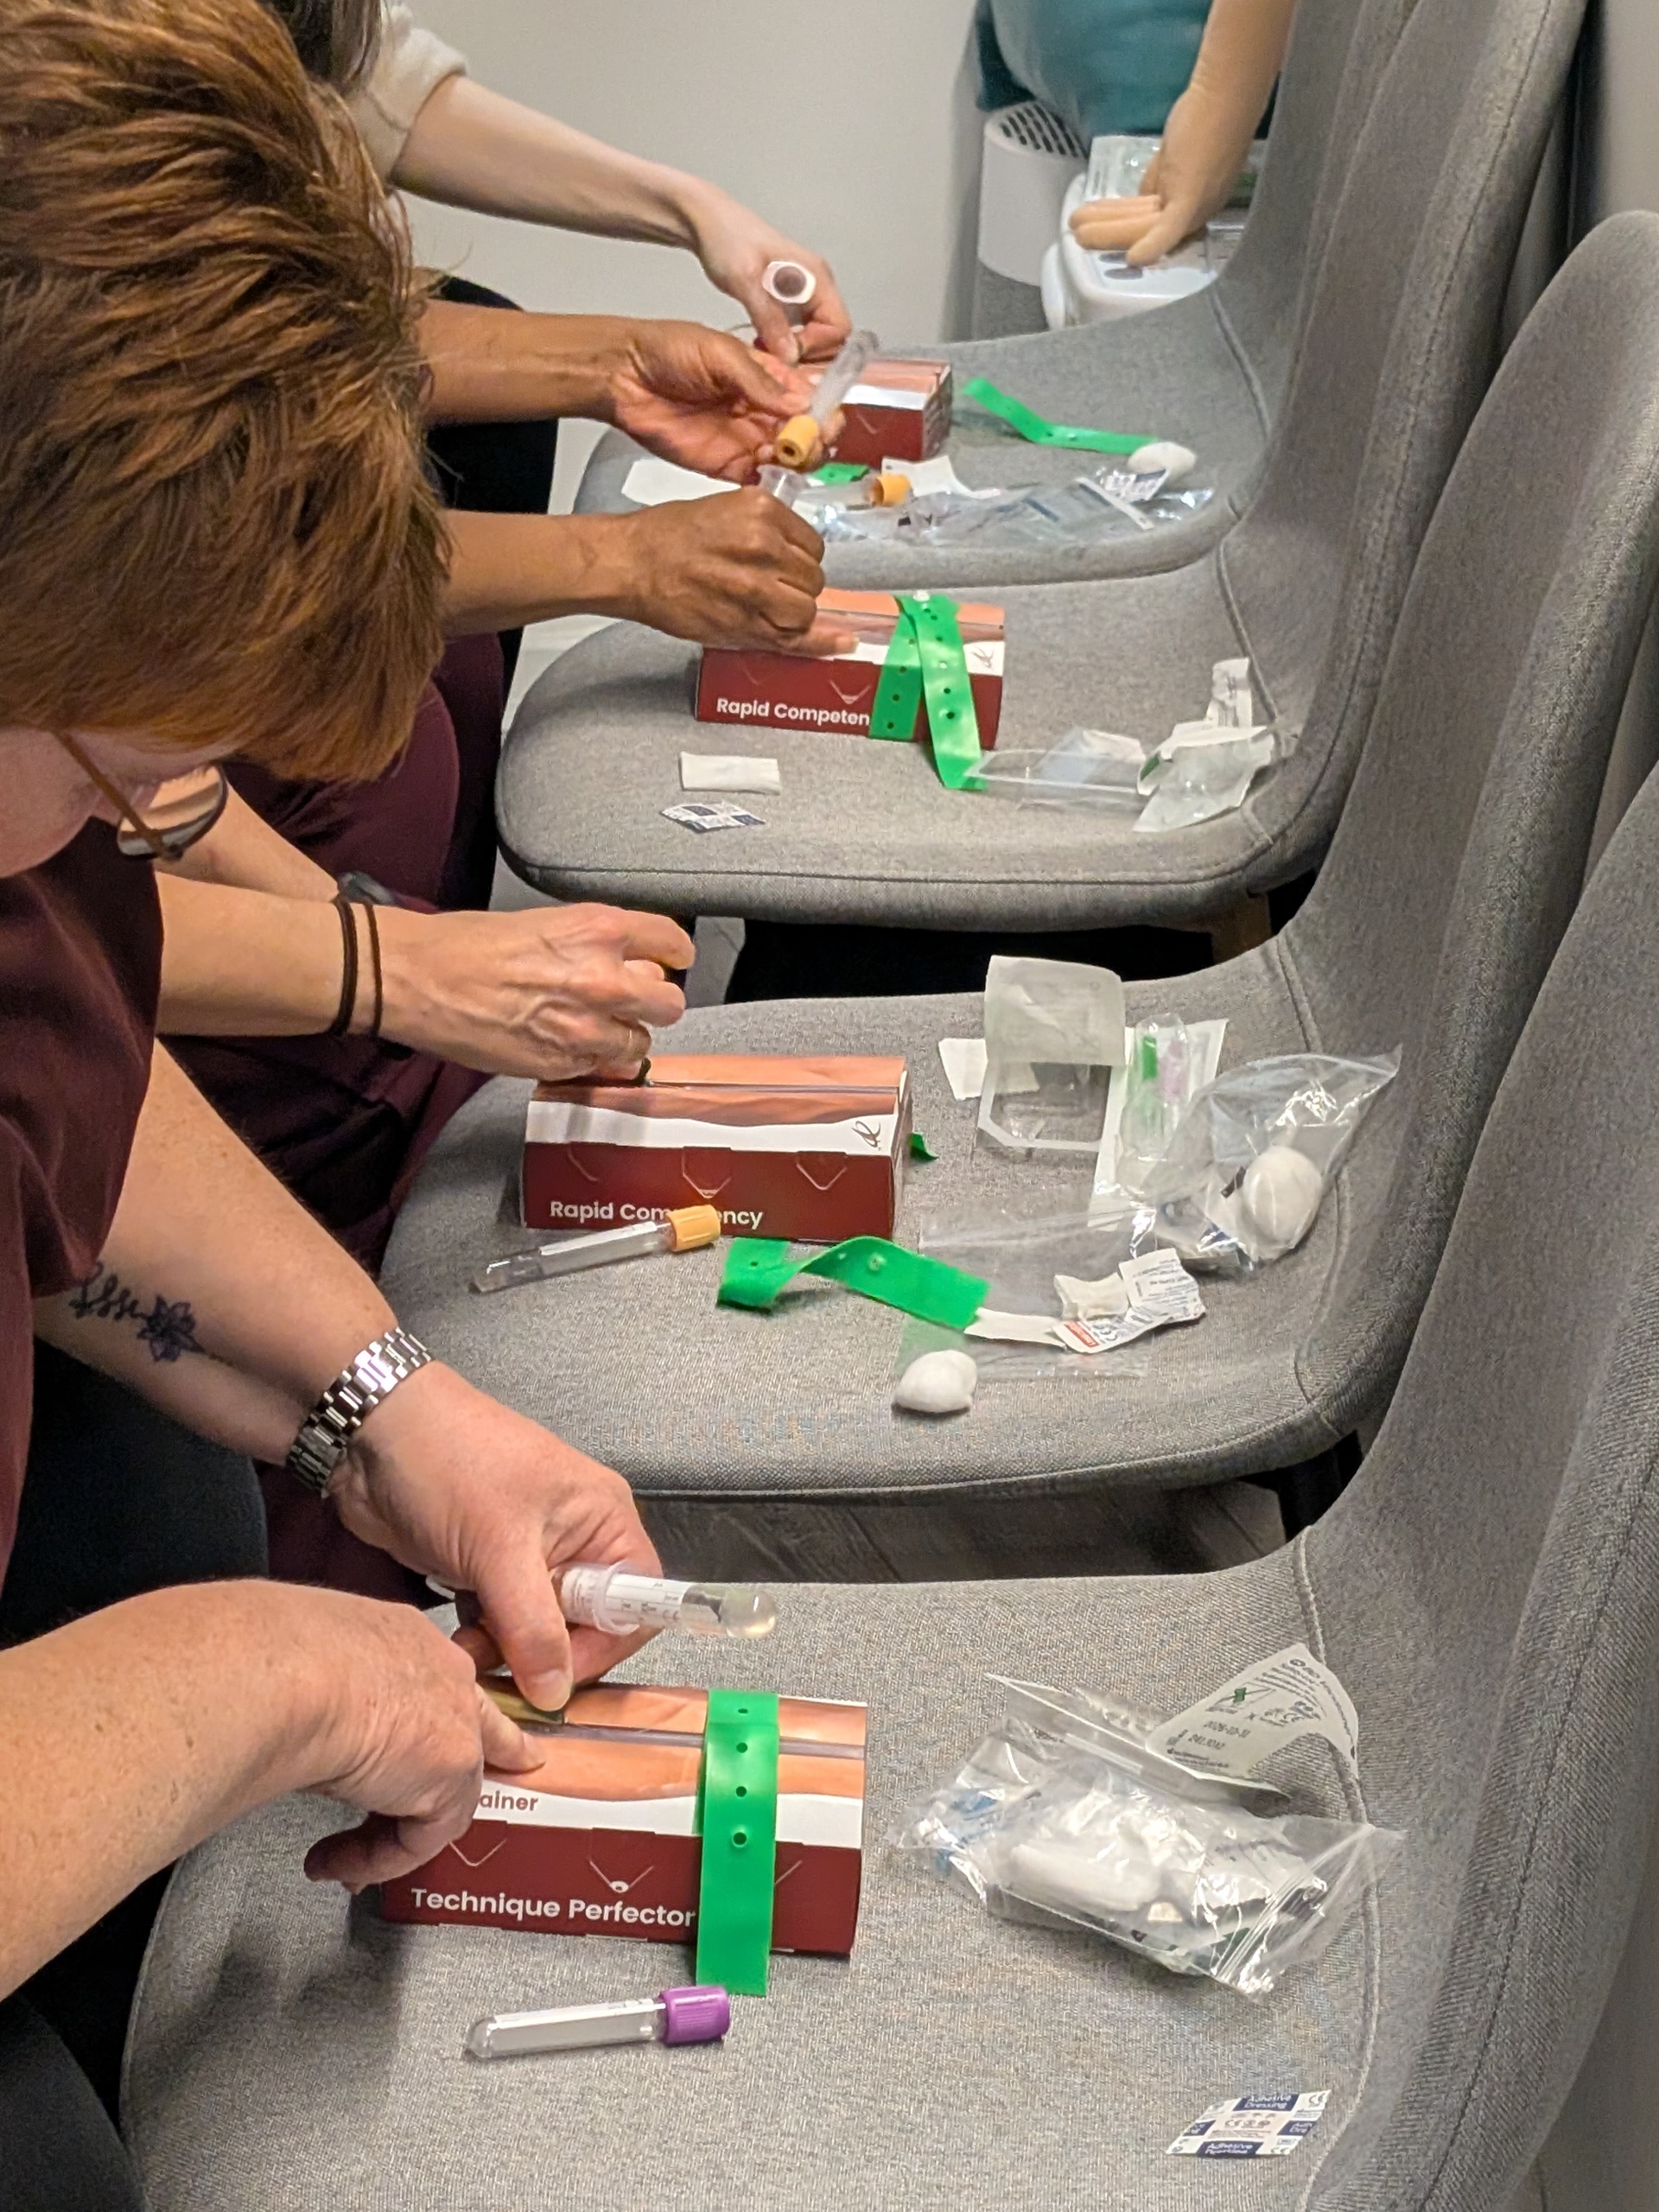
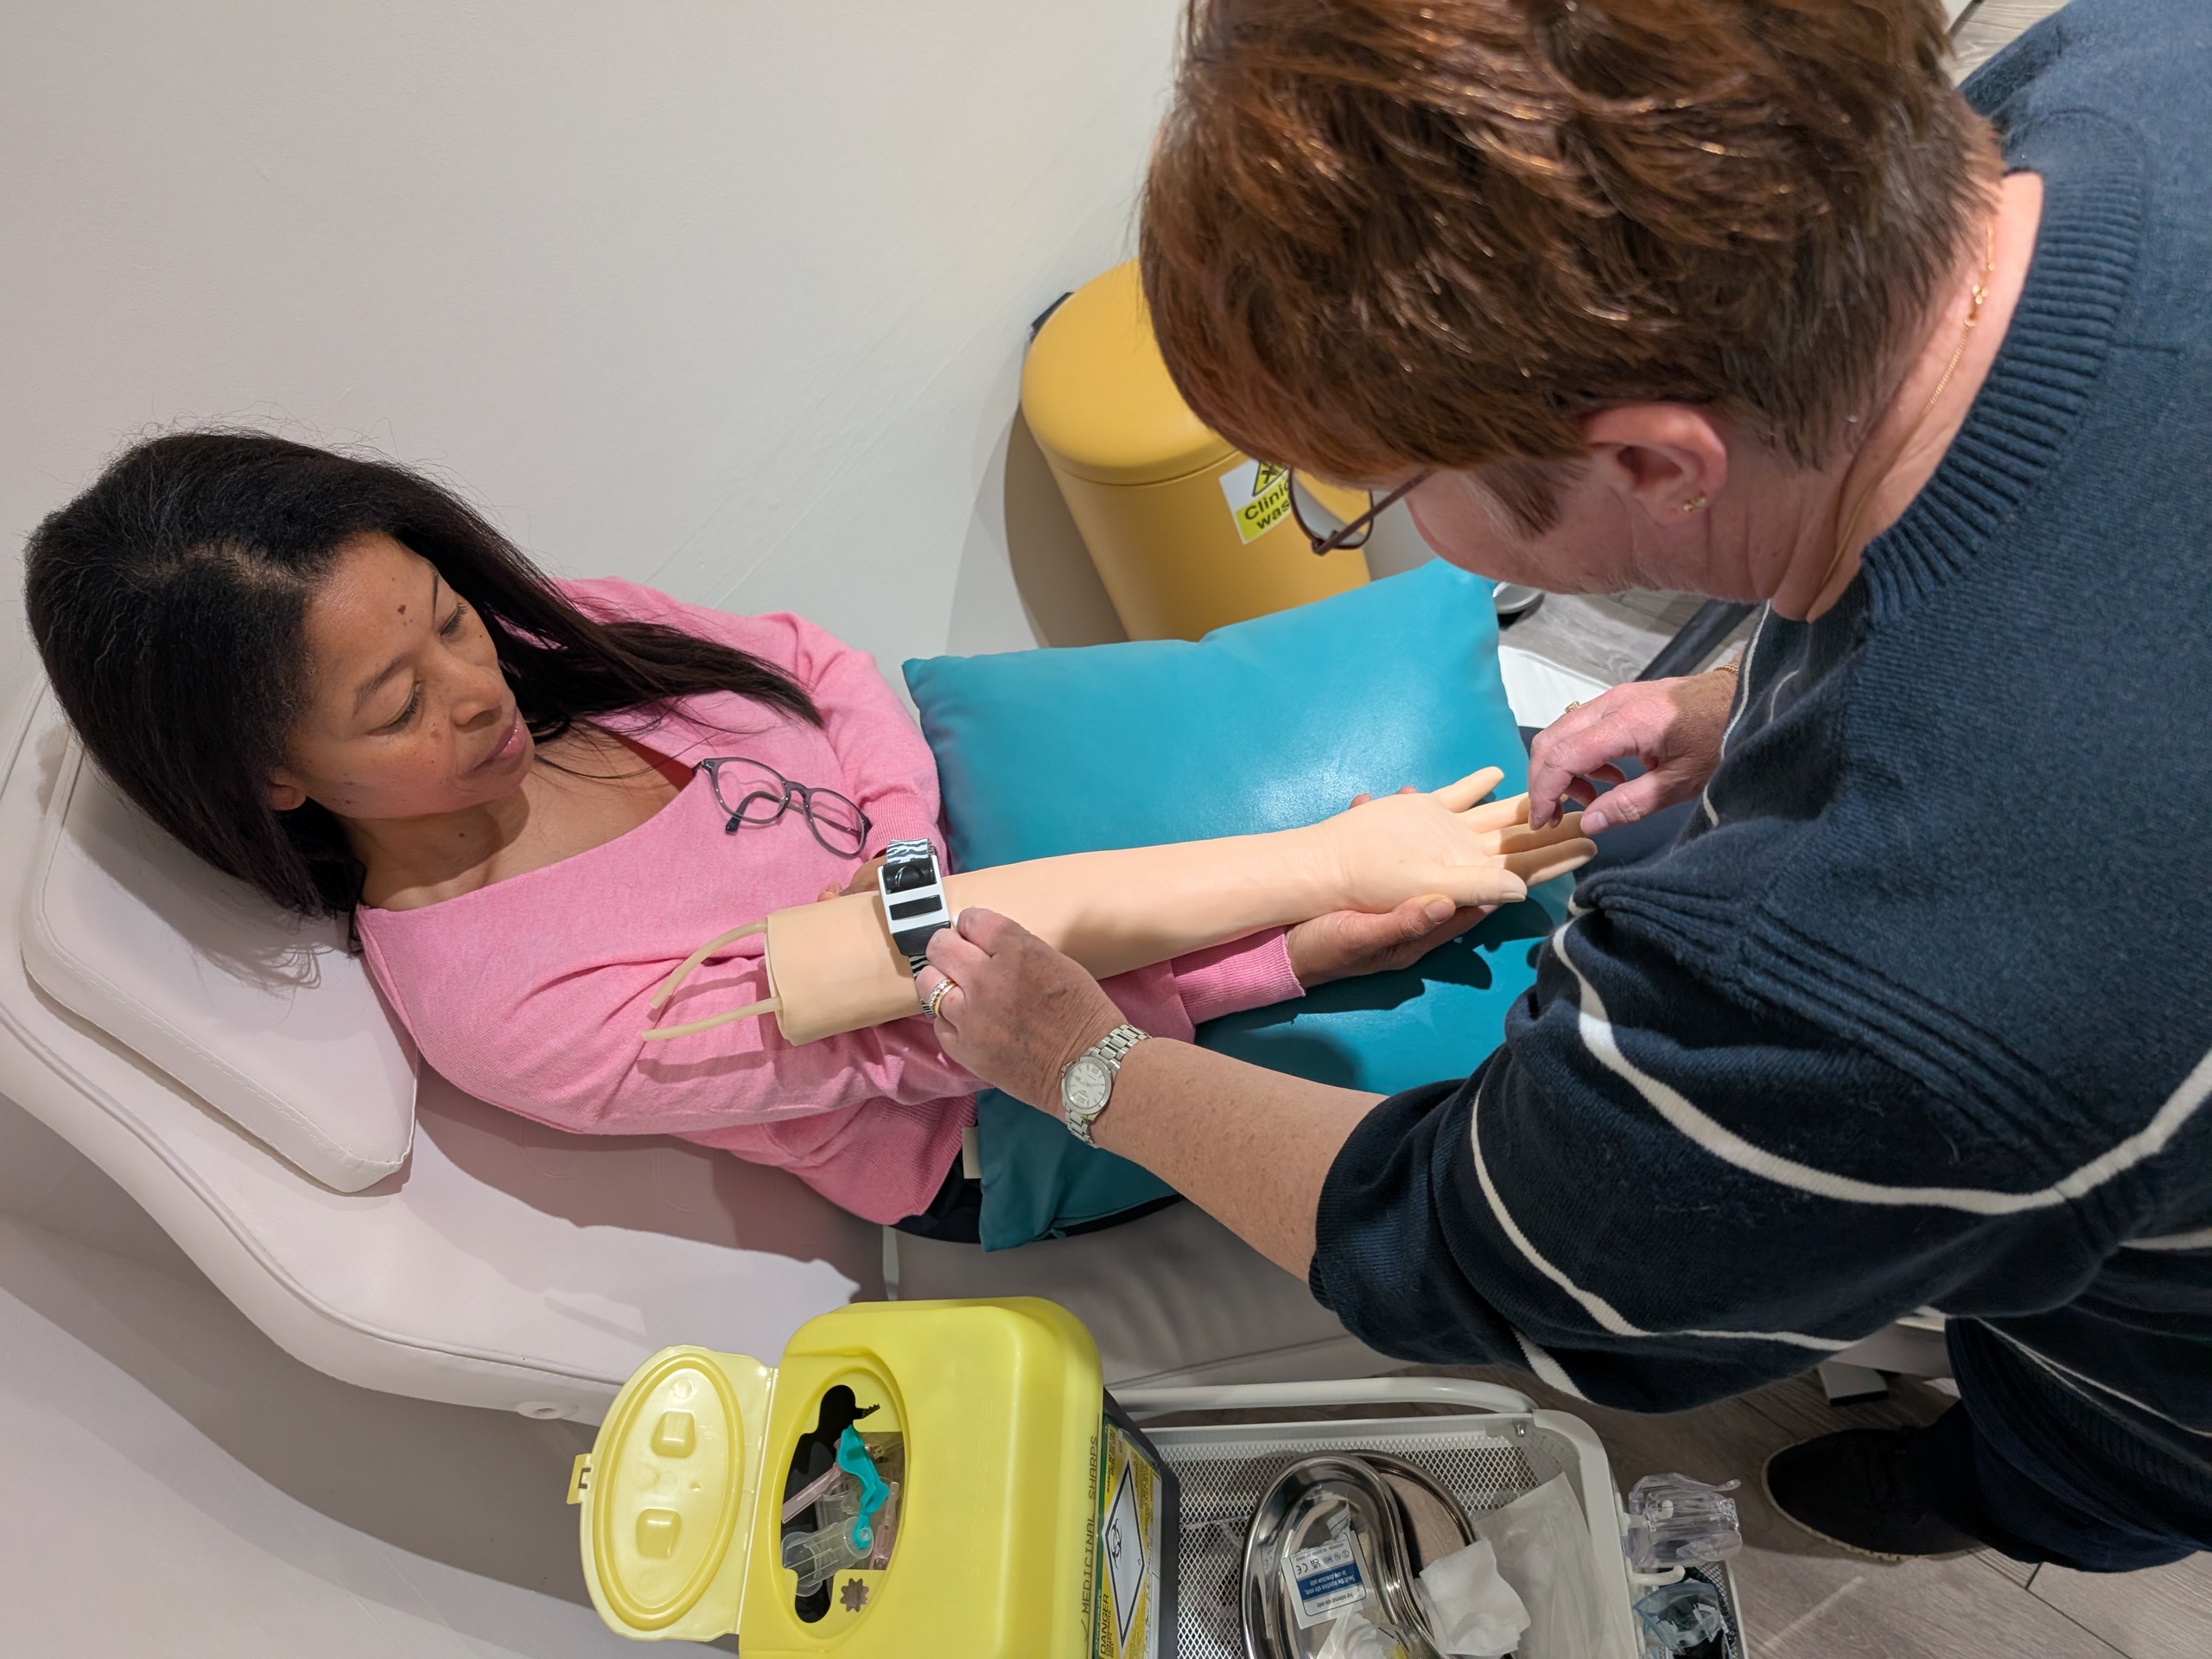
Once the theory is done, we’ll spend the afternoon learning how to hold both a stick needle and a butterfly needle, and drawing “blood” from a plastic vein.
Week 2: Infection Control
Breaking the chain of infection to protect both your client, and yourself.
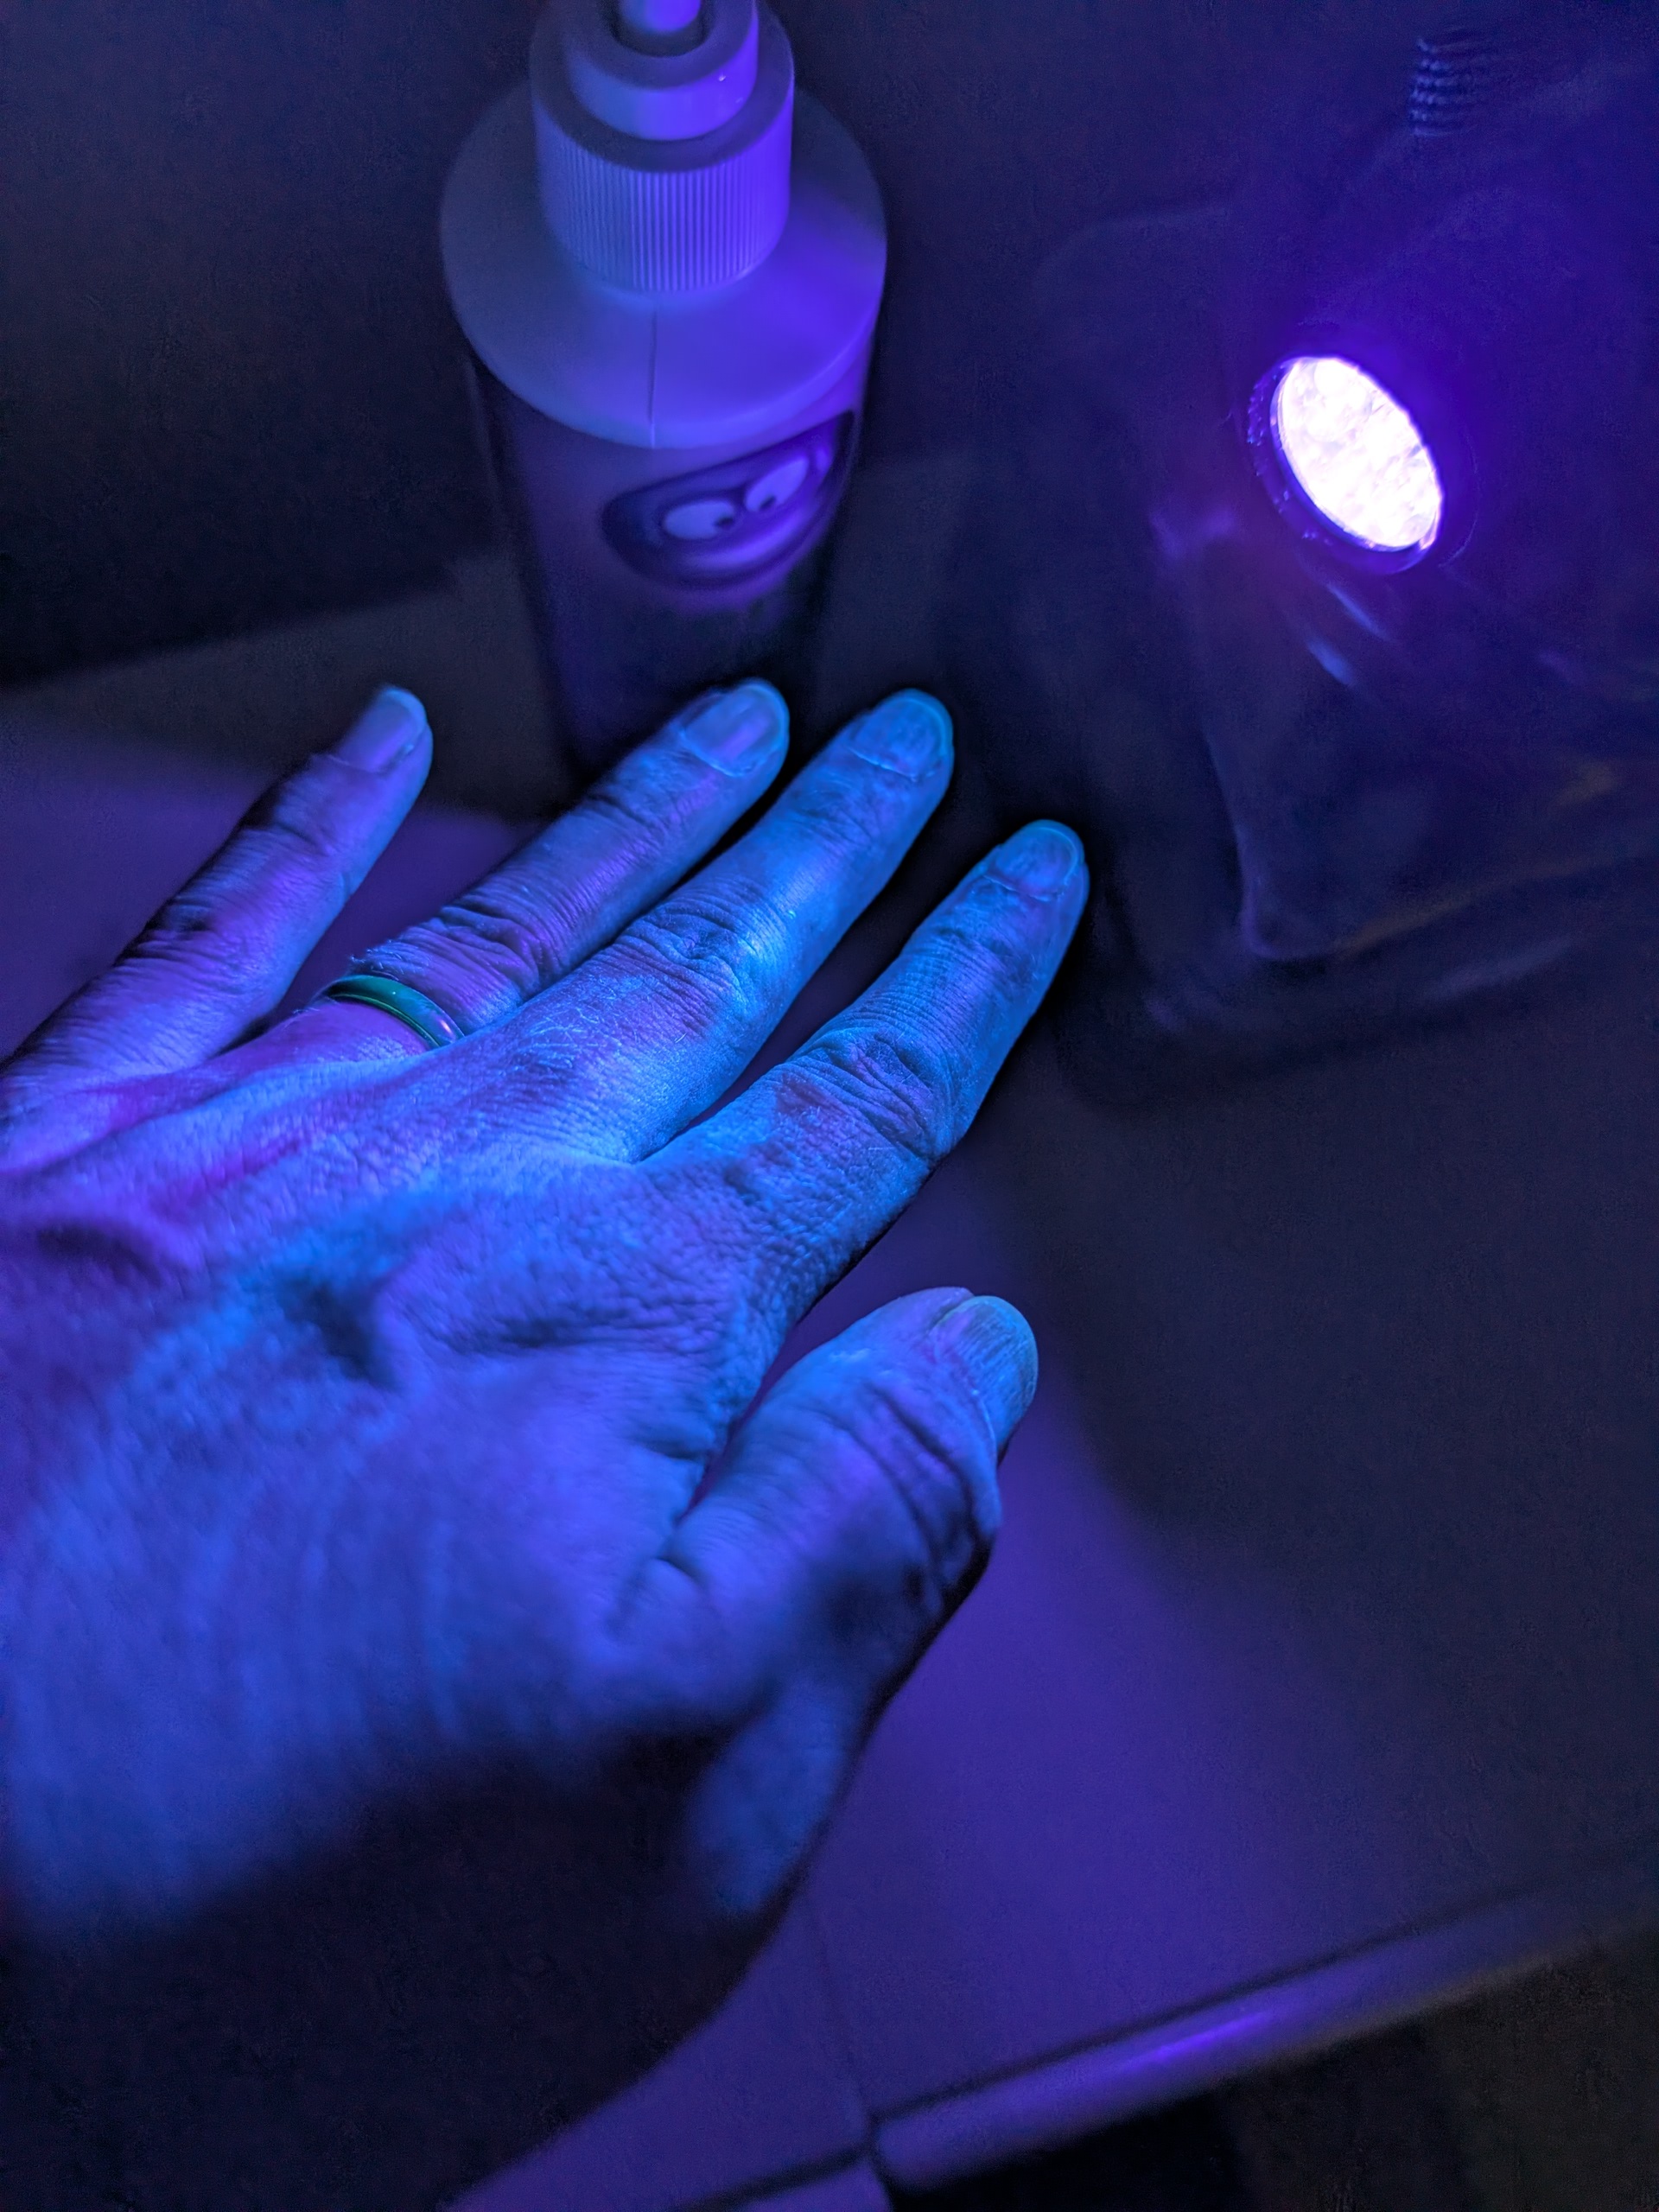
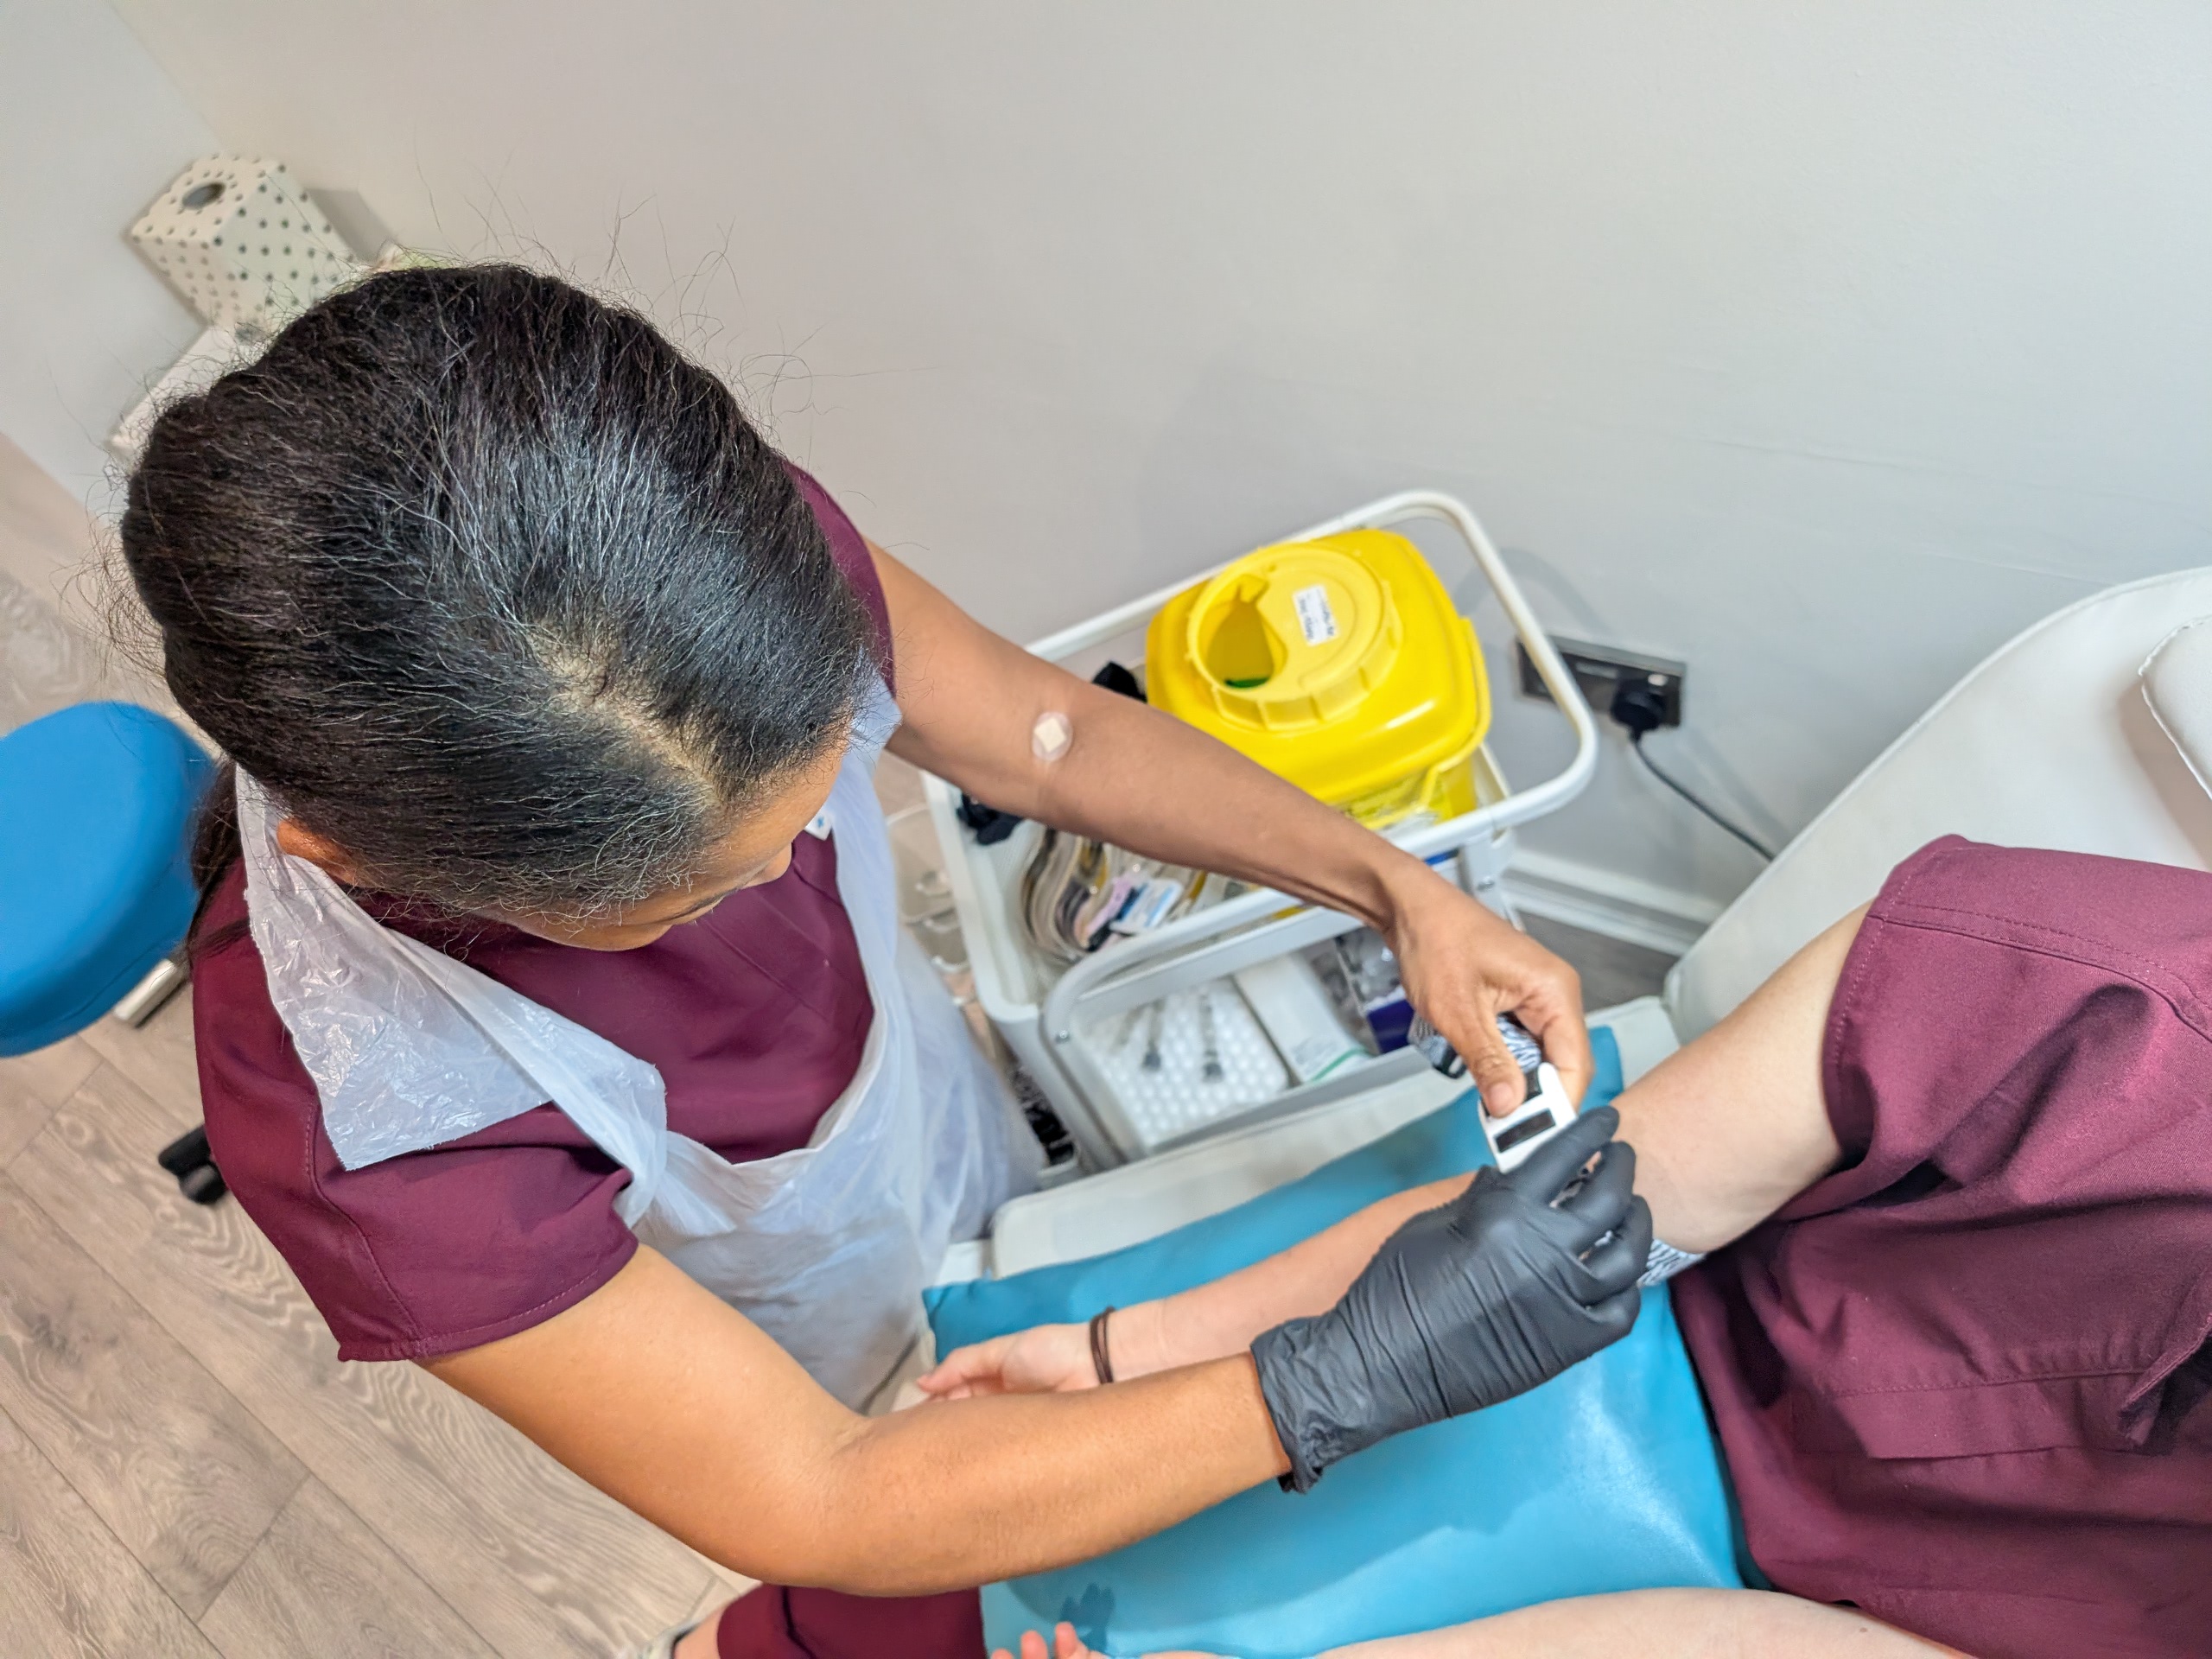
After a quick bit of revision on terminology and anatomy, we’ll discuss infection control, hand hygiene, tourniquets, and what to do in the event of a needlestick injury. There’s lots of time for practical demonstrations in this theory – from UV lamps to identify dirty fingernails (my favourite part of the lesson!) to learning how to tie tourniquets on each other.
After lunch, we’ll have more practical sessions – using a tourniquet on a plastic vein, before drawing “blood” from it.
Your first assessments will be recorded on this session – but you’ll hardly notice that happening, as it’s all just part of the course.
Week 3: Informed Consent
Staying on the right side of the law.
After a quick bit of revision on terminology, anatomy, and infection control, we’re moving onto the legal aspects of phlebotomy this week – gaining informed consent. What does that mean, why is it important, and what can happen if you don’t do it. Lots of practice and role play (and another bit of filming for one of your assessments).
After lunch, it’s back to practicals again – only this time, the plastic veins only get a brief outing, as you’ll be taking my blood… and I promise not to scream!
Week 4: Aftercare and Post Procedural Steps
What to do after the blood draw has been taken.
As always, the lesson will start with some revision. Then we’ll move onto the importance of the order of draw, look at lab packaging and UN3373 requirements, and then finally patient aftercare. Bring a big bag to this lesson as there’s always lots of freebies to share – packaging examples, and as full a set of vacutainers as we have in stock (the full set is very pretty, and makes great social media content if that’s what you’re into).
There’s another recorded assessment this week: just you talking to a plastic vein as if it can hear you, and then taking it’s “blood”.
After lunch, it’s back to practicals again – only this time, instead of my veins, you’ll be fully supervised as you draw blood from your classmates.
Week 5: Complications
What to do when things don’t go to plan.
After our usual revision recap of the previous weeks, we’ll discuss what can go wrong. Bruising, fainting, pain, refusal, missed veins… we’ll make sure that you know exactly what to do if things start going wrong.
We’ll also discuss pain relief in phlebotomy – what’s available, who can apply it, the pros/cons of using it, and most importantly: giving your clients the choice to ask for pain relief or distraction techniques.
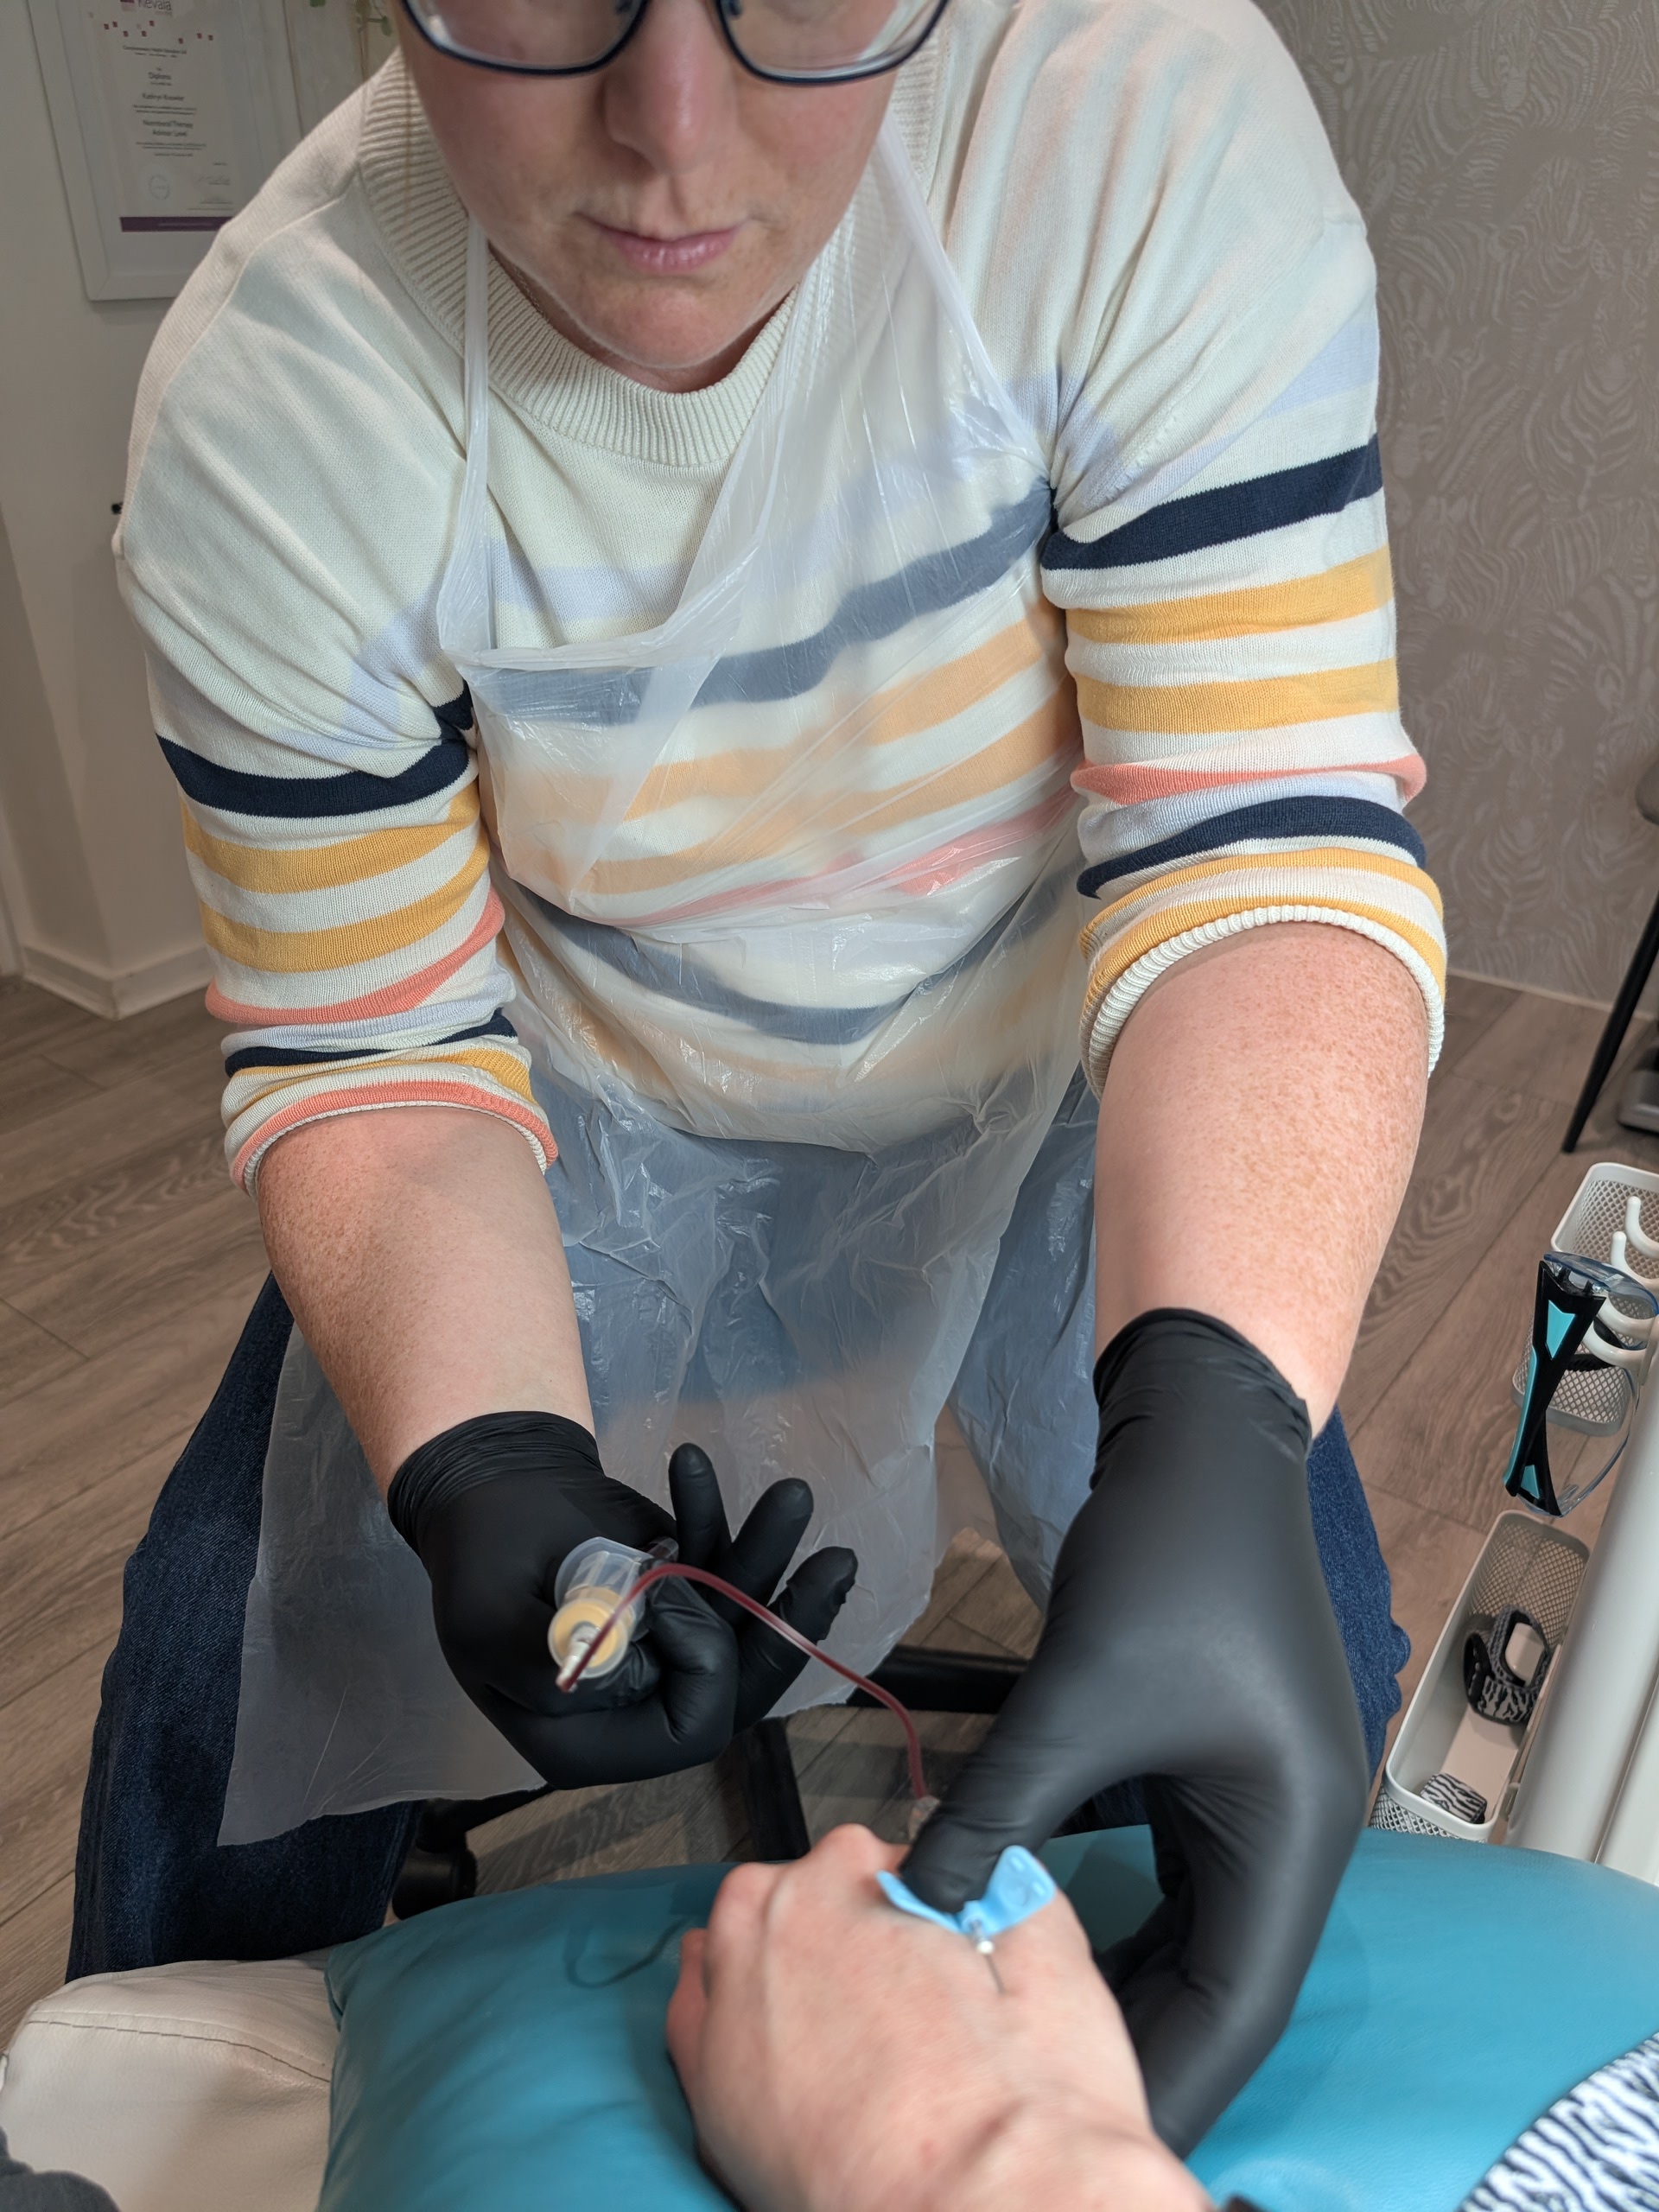
There will be a couple more videos recorded and then, after lunch, you know the score – it’s back to practicals again and drawing blood from your classmates. By now you should be feeling confident, and well on your way to achieving competency. If you’re really confident, I’ll show you how to use a butterfly needle for a hand vein blood draw.
Week 6: The Final Lesson
Finishing any outstanding assignments.
There’s no official theory to be covered in this final lesson. After our usual recap of the previous weeks, we’ll make sure that your assignments and video assessments are all in place – recording any that are missing.
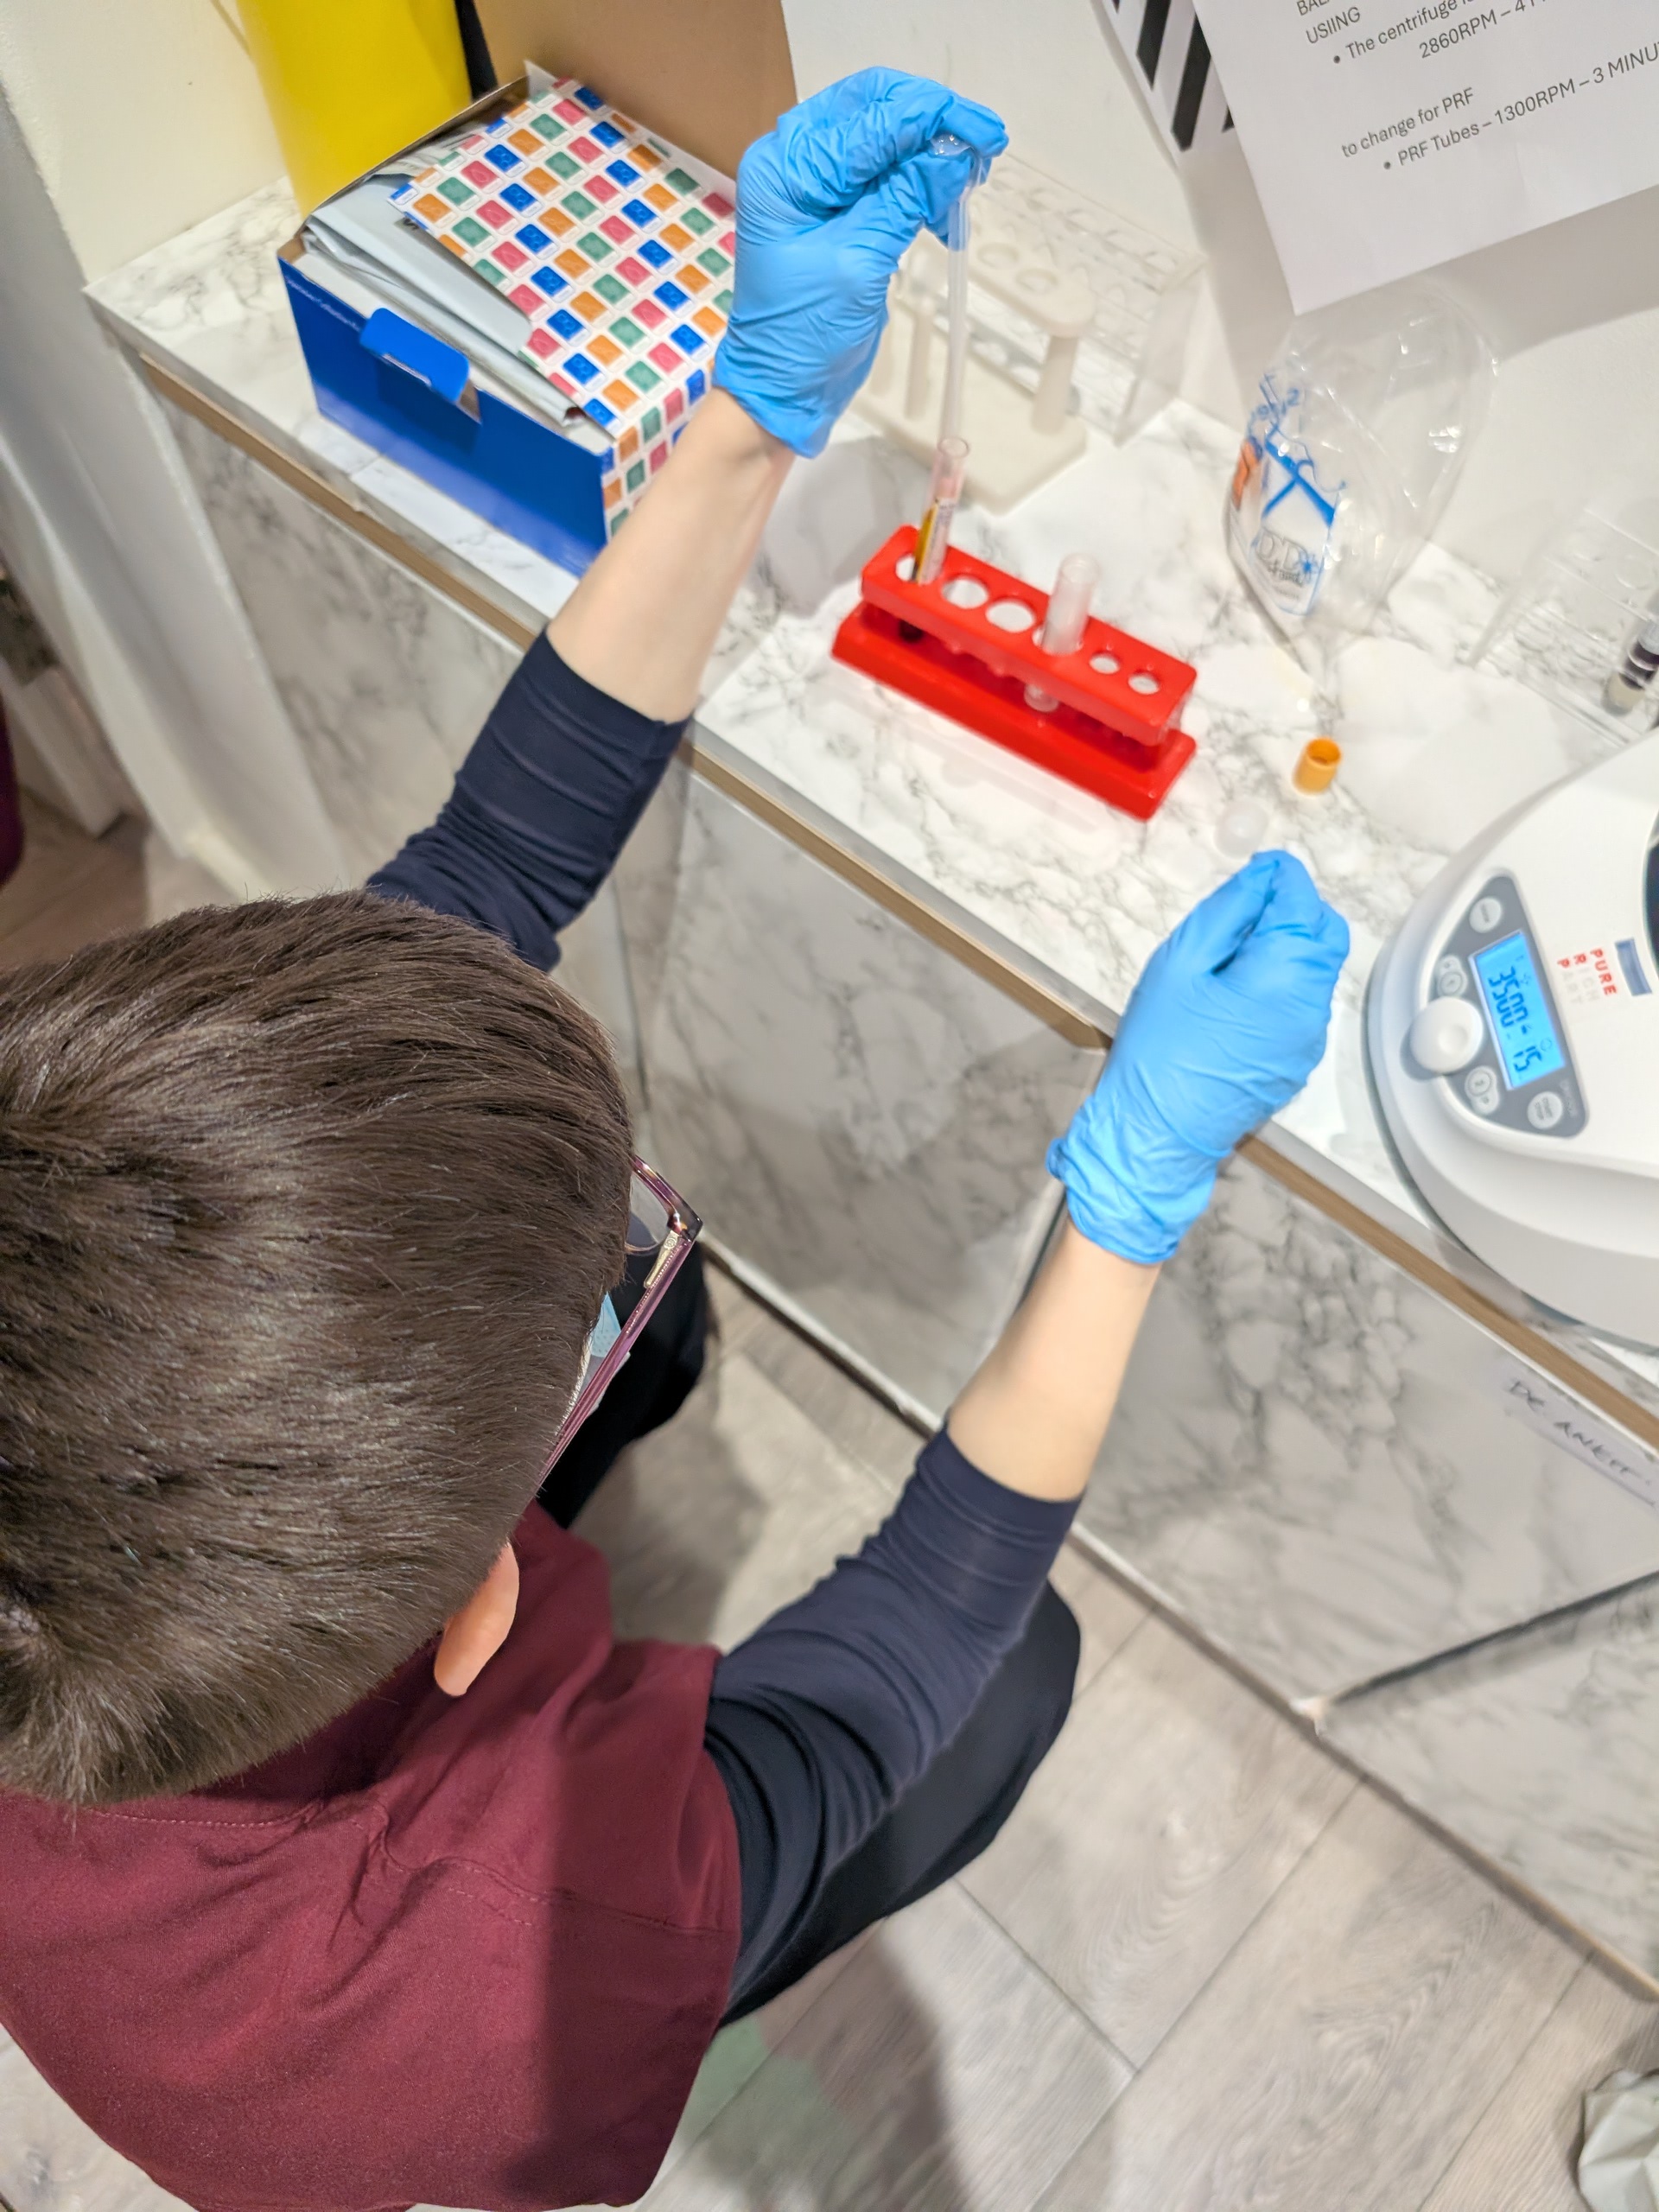
It’s a great lesson to invite friends and family in for you to practice taking blood on them (ask them – you never know if they might be up for coming in!). It’s also a time to get a bit more centrifugation practice in, if you haven’t done much so far.
I always cry when it comes to saying goodbye on the last lesson, so please bring tissues. No really, do bring them – I’ll need them.
Bonus 1:1 Session
Verifying your competency in your own surroundings
This is an optional session, but it’s free of charge if you want to opt in. Simply book a date with me, and I will come to your clinic/home and observe you drawing blood from friends, family, neighbours, enemies… anyone who will let you put a needle in their vein. This is also a great opportunity to get yourself some social media and website content photos, so dress accordingly and make sure you’ve done your hair.
* While Progressive Wellness Ltd provides CQC registration support, it is important to understand that successful registration with the CQC cannot be guaranteed. I will work with you to ensure that all requirements are met, however, it is ultimately the CQC that makes the final decision regarding registration.